Saturday, November 14, 2015

Farmer's Wife Quilt-a-long Week 7

This week's blocks were #2 Aimee and #76 Nancy


#2 Aimee


I foundation paper pieced (FPP) this one.  If a block has a shape that is not a triange or rectange, I will FPP it.  

On Gnome Angel's website, gnomeangel.com, she referred to a tutorial on another blog where you use freezer paper to FPP.  With this technique you create the sewing lines on the freezer with your sewing machine.  Another difference with this technique is that you fold back the freezer paper and sew next to the fold so no need to rip off the paper.  Please refer to this blog http://woodenspoonquilts.blogspot.com.au/2015/10/grannytutorialblock41.html for specifics.

Well, I didn't care for the technique.  After completing my first portion of the block, there was a pucker. Since it was a process that I was not familiar with I also used a lot more fabric.  The ripping off of the papers never bothered me as it does others.

I am very pleased with the block.  Love the stripes

#76 Nancy


I am SO happy with this block.  I have been wanting to use the black and white fabric for weeks.  Last week I tried to use it in #57- Margret but it was, as the kids say, an epic failure.  Just needed to wait for  the right block.

This week's Tip

There have been 3 techniques I've used to assemle the blocks, rotary cutting, foundation paper piecing and applique.  Many people are goi ng a different route and are using the Marti Mitchell Templates.  

One of the nice perks of the MM templates is that the corners are clipped at just the right spot and angle for easy piecing.  I have just the tool for this without having to purchase the templates, Judy Martins Ultimate Point Trimmer. 


It took me a bit to get used to how to set up the pieces to trim but now I don't know how I would live without this little tool!


Sunday, November 8, 2015

Farmer's Wife Quilt-a-long Week 6

This was a tough week for me. The blocks this week were #1 Addie, #62 Milly, and #57 Margret.


I did Addie twice.  Here they are:


Being that Addie has such a large piece in the middle I wanted to use a fabric with a big print.  Starting with the top one, the center fabric was what started the whole color scheme.  I didn't want to use this same fabric in the outer point becuse I thought it would blend too much with the black.  Once I finished it I thought the inside fabric looked pieced rather than one piece of fabric.

So I did the bottom one.

With further review, I like them both.  Good thing I dont need to decide which one tp use for a while.

Now here's Milly.


I liked her right away.  I really wanted to use the grey fabric in this one.  Glad it worked out.

Finally, Margret...

#1


#2


#3


Finally, #4


This block kept nagging at me.  The first one was way too busy.  Then changing the light to grey just didn't give it the impact I wanted.  The third one was still too busy.  Now I realized the problem was the dark fabric.  Changed the dark to a black batik and it was a hit!  I sure hope next week's blocks don't involve half square triangles!

My tip for this week.


I put 1/4" tape on a ruler outlining the size of the finished pice.  Then cut once you have it where you want it.


Wednesday, October 28, 2015

Farmer's Wife Quilt-a-long Week 5

#41-Granny and #44- Jenny


So the first block is #41- Granny

I love the use of large pieces of fabric in this block.  I also thought it would be a great use of directional fabrics.  Since the fabrics in this quilt is leftover from Sarah's quilt and her quilt had no directional fabric restrictions, I have quite a few of these fabrics.

After seeing a completed QAL block that the larger pieces were not pieced, I really liked that idea.  With further review of a couple of "non-pieced" blocks I noticed that they were appliqued.  This was quite exciting for me as I have been wanting to try some new appluque tricks I had learned.

Here are most of the items I used to make this block.

First I cut my triangle.  For this I just cut out the triange, adding 1/4" seam allowance, from the diagram off the cd.  Then I prepared my applique piece.

NEW TRICK #1- Using 3 layers of freezer paper as the applique shape.  Pressing 3 layers on top of each othe makes a nice, stiff pattern piece.  I then had the plastic side of the freezer paper pattern piece to press to my fabric.  It worked wonders!

TRICK #2-  Next I used a paint brush to apply starch to both sides of the applique piece.  Then pressed it over with the iron.

Finished piece:

Next I used Elmer to place the piece:

The pressed it in place.

This is what it looked like once sewnin place:

Next I removed the paper, pried apart the pieced I had used Elmer on, then cut the green in the corner and pressed the seams open.  I wanted to press the seams open so that it didn't look appliqued.

Finished one quarter.

Here is the finished block.  I am very pleased.

Now for #45-Jenny

This one was far less exciting but no less loved. I did stumbled a bit before reading the tutorial. I put the center triangles together and then tried to add the outside but then I had Y seams to deal with. The tutorial I go to the outside parallelogram and triangle first, making it a triangle. Then you put the four triangles together. Note to self read the tutorial first, much easier.

Here are all of the blocks so far.


Sunday, October 25, 2015

Farmer's Wife Quilt-a-long Week 4

All day on Monday I was trolling GnomeAngel.com for the first block being released this week.  After all the waiting I was very excited to work on the released block only to have to wait until Thursday to get started.  At my quilt meeting on Tuesday morning I volunteered to do an "emergency" Prayers and Squares backing.  Then on Wednesday with Sarah's giving her faith statement along with the rest of the hectic day, quilting was just not in the cards.

This weeks blocks are #78 Old Maid, #94 Susannah, and #49 Katherine

Here is the first block I attempted, Old Maid:
This is my first attempt.  After completing when I measured, it was 6 3/4" square rather than 6 1/2".  So what does one do but trim.  When trimming was completed the sides only had about 1/8" seem allowance without cutting into the points.  This was not acceptable so I started another.

Reviewing the color I decided to change the green and leave the solid I used in the first attempt for a multicolor block, more versatile.  This time I trimmed as I went so it only ended up 1/8" too big on each side.  I know why, when cutting the quarter square triangles, the suggested size they large so allows for trimming.  Even though I trimmed the center of the block the edges were long.  I trimmed a bit and called it acceptable.

#94 Susannah

#49 Katherine

Here are all of the blocks so far.  The bottom block's green is questionable.  As the quilt progresses, if it still sticks out like a sore thumb I will redo with other fabrics

Sunday, October 18, 2015

Farmers Wife Quilt-a-long Weeks 1-3

So I started a bit behind on the quilt-a-long (QAL) due to needing to finish up a quilt for church.  For many of the blocks I have done so far, Elmer's washable glue has been a godsend, even Bonnie that I paper pieced.  The fabrics are left over from doing my daughter's quilt.

Week 1 bocks were #16- Bonnie, #12- Becky, and #8 Aunt

Being that this was my first block I'm learning to try to fussy cut better. 


Week 2- #14- Betty and #20- Caroline


Week 3- #13- Belle and #24 Coral

This Belle block was the only block I paper pieced so far.  It involved Y seams which were a fun challange.  Again, extolling the virtues of Elmer, the Y seems were no issue.  Loved not having the pins to deal with.

This as all of them so far:

Again, Elmer and heavy starch have sure been my friends.  I have never in 28 years of quilting had such consistantly accurate points.  

So far I am very pleased with the results.


Thursday, June 11, 2015

Let's go again!

So it's been a LONG time!  I am inspires by seeing the board UFOs at my quilt meeting a couple of days ago.  So, I have decided to work work on finishing some old UFOs.  Here is the top 5 from oldest to newest, to the best of my recollection.

1.  Started 1994.  These are the board blocks we exchanged when I was president.  Boy that was a long time ago.  A couple of members of the group have passed away.  There are also a few who have moved away or are no longer quilting.  What a wonderful group of women.

2.  Started, 1996.  This is John's and my wedding quilt.  This was our guest book.  It is really fun to see the names as I quilt around them.  So many wonderful people are no longer with us.  My goal is to finish it for our 20th.
3.  Started late 1990s.  This is a Piece of Cake block of the month that I did through Glad creations.  It was a wonderful way to learn how to hand appliqué.

4.  This too was started in the late 1990s but after the Piece of Cake project.  For years I was making small quilts for my dear husband's home office.  Now I think this may be more appropriate for the hunting shack we are building.

5.  Started in 2010.  I started this English paper piecing project to bring along to softball/baseball games as I waited idly.  Found out I really didn't have much down time and have not gotten very far.  I have collected a bunch off fabric over the years.

6.  Started xxxx.  When driving back from Bill and Peg's cabin over New Years we stopped at the quilt shop in, I think, Jenkins, MN.  I also don't believe it is still there.  This just needs to be quilted.

Of course there are the 5 other quilts I have started in 2015 so those are in a different category, binding on a Prayers and Squares quilt, quilting a twin sized quilt for North Woods, a top ready to quilt for SMQ, piecing a top for Sarah, and, and a cut up lap size for North Woods.  Whew!

I will need to manage an old and a new at the same time.

It is fun for me to read the "Old Project List."  I have renamed this list as so many have been finished.    The new list is still in progress.  I will update these next time.

Time to go quilt!

Tuesday, September 10, 2013

North Woods Pictures

Welcome to our new endeavor!  Here are some photos of Retreat to North Woods.  Enjoy the tour.


Welcome!
Dining and Living Room
Kitchen
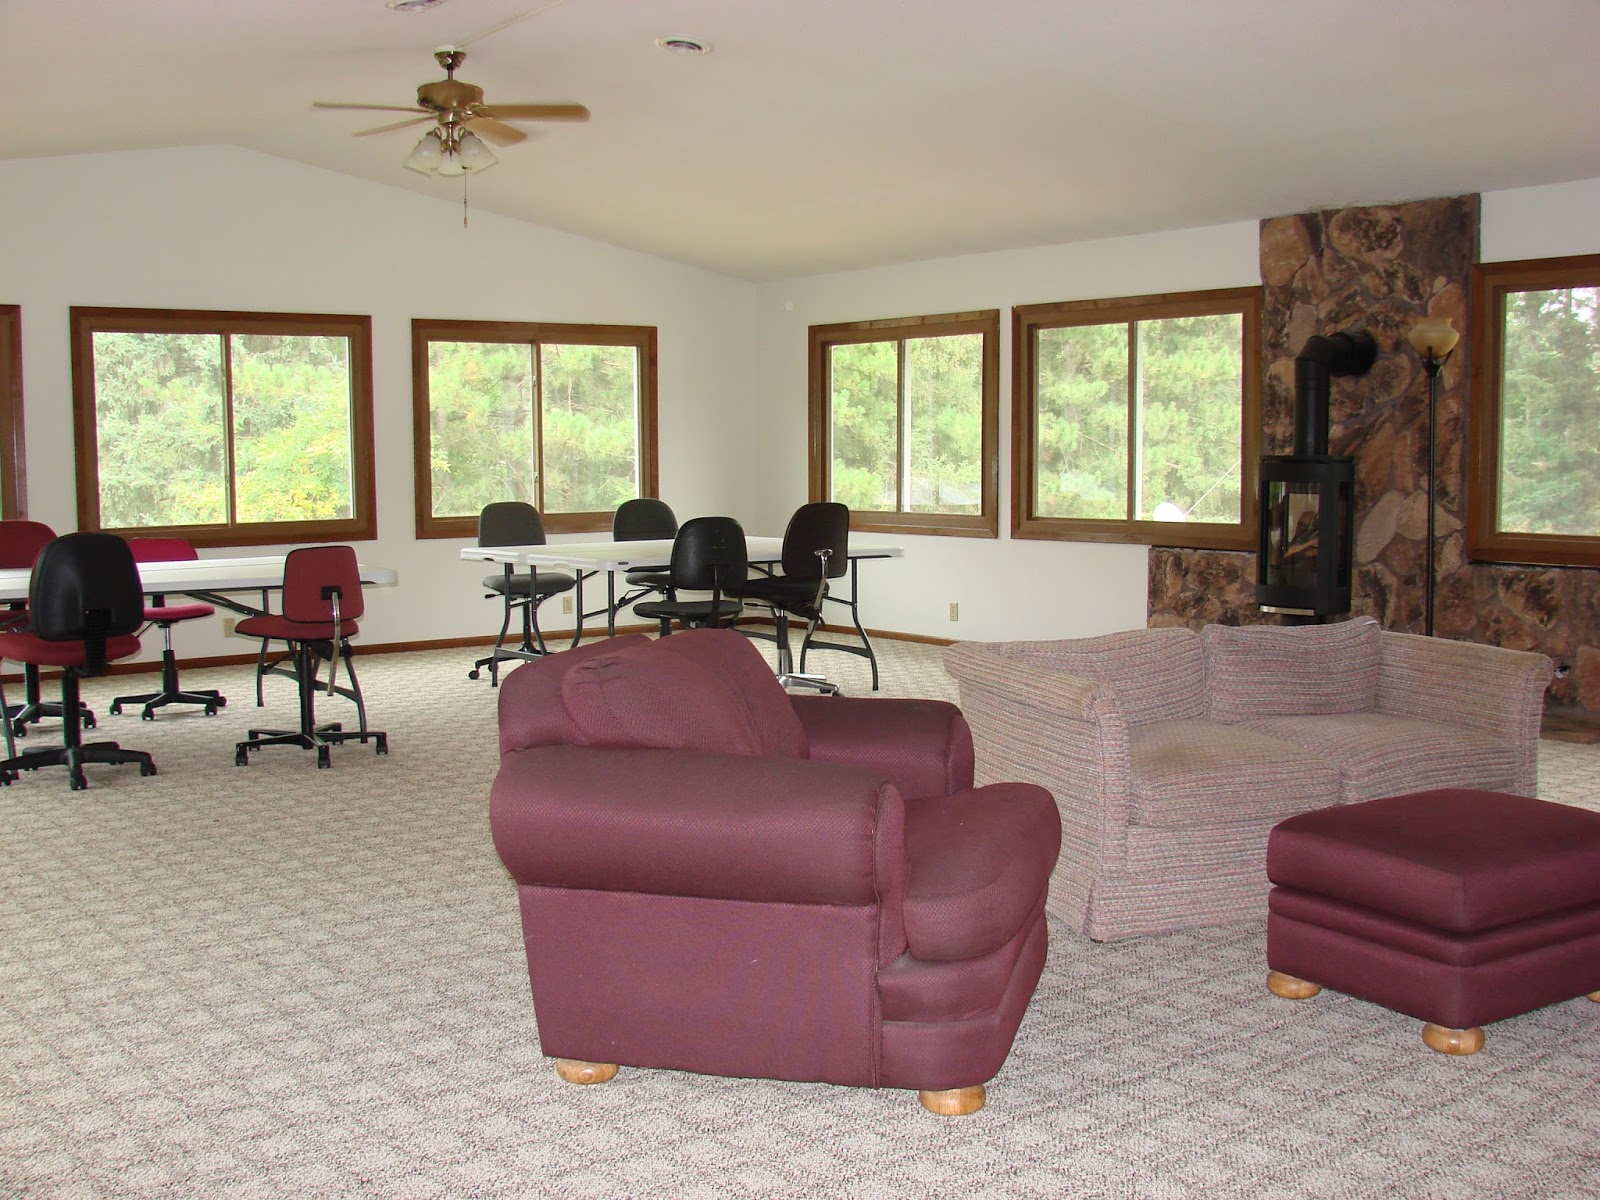
Workroom 26'x30' 
Queen Bed Room
Bunk Bed Room #1
Bunk Bed Room #2
Upstairs Bathroom
Please contact me at jane@retreattonorthwoods.com with any questions.